ECOMMERCE DEVELOPMENT
How To Take High Quality Product Photographs For An Ecommerce Website
Product photographs are one of the most important elements of an ecommerce website, as they showcase the products you sell and influence the buying decisions of your potential customers. Indeed, 87.6% of respondents to a Namagoo survey cited clear product images as important in a great online shopping experience. Therefore, it is essential to take high quality product photographs that are clear, detailed, and attractive.
But how do you take high quality product photographs for an ecommerce website? Here are some steps and tips to help you create stunning product images that sell.
Choose the right equipment
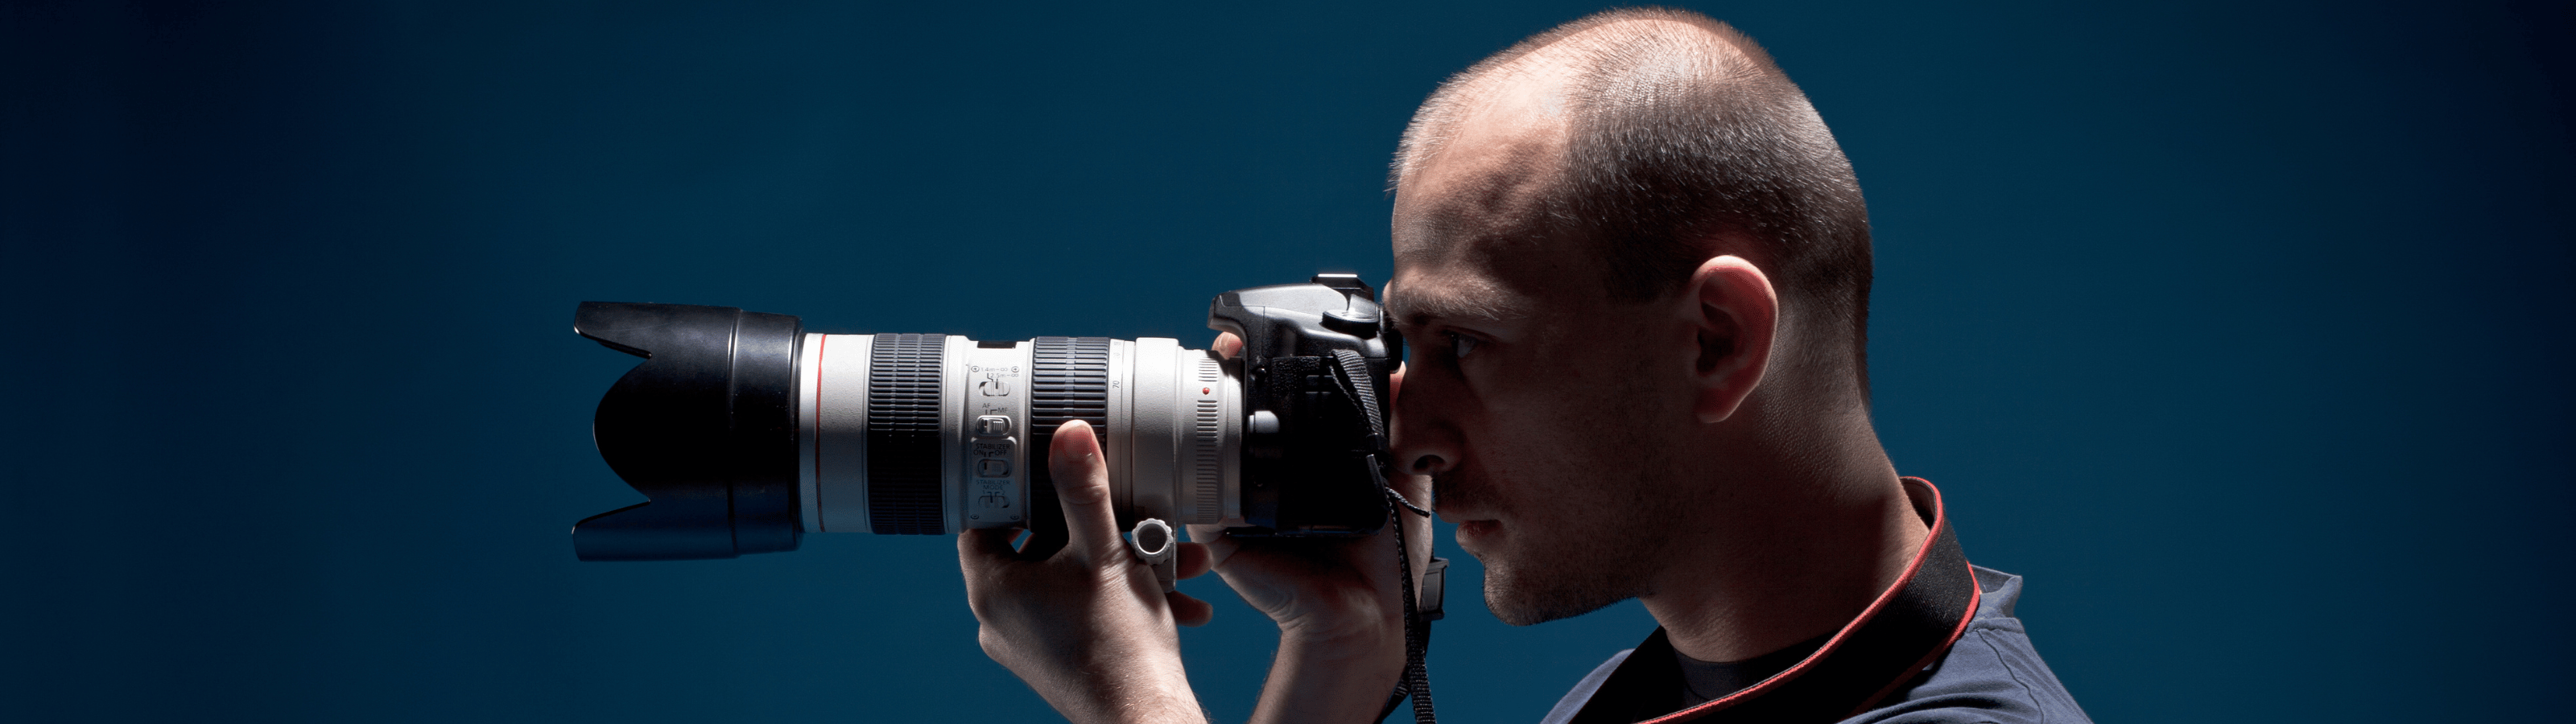
The first step to taking high quality product photographs is to choose the right equipment for your needs and budget. You will need a camera, a lens, a tripod, a background, and a lighting setup.
- Camera: You can use either a digital single-lens reflex (DSLR) camera or a smartphone to take product photographs, depending on the quality and resolution you want to achieve. A DSLR camera will give you more control over the settings and features, such as aperture, shutter speed, ISO and focus, and allow you to capture more details and colours. A smartphone, on the other hand, will be more convenient and affordable, and still produce decent results if you use a good camera app and edit your photos afterwards. Whichever device you choose, make sure it has a high megapixel count and a good sensor size, as these will affect the sharpness and clarity of your images.
- Lens: The lens you use will also affect the quality and style of your product photographs. Depending on your camera, you may be able to switch between different lenses for different purposes. For example, if you want to take close-up shots of your products and show their texture and details, you can use a macro lens, which can focus on small objects at a short distance. If you want to take wide-angle shots of your products and show their context and environment, you can use a wide-angle lens, which can capture a larger field of view. However, avoid using a fisheye lens, which can distort your products and make them look unnatural.
- Tripod: A tripod is a device that holds your camera steady and prevents it from shaking or moving, which can cause blurry or crooked images. A tripod is especially useful when you are taking product photographs in low-light conditions, as you will need to use a slower shutter speed to let more light in, and any movement can ruin your shot. A tripod will also help you to maintain a consistent angle and position for your product photographs, which will make them look more professional and uniform. You can choose between a standard tripod, which can stand on the floor or a table, or a mini tripod, which can clamp onto a surface or a pole.
- Background: The background is the surface or material behind your product, which can affect the contrast, colour and mood of your product photographs. The background you choose should match the style and theme of your ecommerce website and complement your product without distracting from it. A simple and plain background, such as a white or black paper, cloth, or foam board, is usually the best option, as it will make your product stand out and look clean and crisp. However, you can also use a textured or coloured background, such as a wood, metal, or fabric, to add some interest and variety to your product photographs, as long as it does not clash with your product or your brand identity. Be aware that many platforms and marketplaces, such as Google Merchant Centre, specify a white background for product photos.
- Lighting: The lighting is the source and direction of light that illuminates your product, which can affect the brightness, contrast, and shadows of your product photographs. The lighting you use should highlight the features and benefits of your product and create a natural and realistic effect. You can choose between natural lighting, which is the light from the sun or the sky, or artificial lighting, which is the light from lamps, bulbs, or flashes.
Natural lighting is usually the easiest and cheapest option, as it provides a soft and even light that can enhance the colours and details of your product. However, natural lighting can also be unpredictable and inconsistent, depending on the weather, time of day, and location. Artificial lighting, on the other hand, gives you more control and flexibility over the intensity and direction of light, and allows you to create different effects and moods for your product photographs. However, artificial lighting can also be more expensive and complicated, as you will need to buy and set up different types of lights, such as continuous lights, strobe lights, or ring lights, and use accessories, such as reflectors, diffusers, or umbrellas, to modify the light.
Set up your product and camera
The second step to taking high quality product photographs is to set up your product and camera in a way that showcases your product in the best possible light. You will need to consider the angle, distance, and composition of your product photographs.
- Angle: The angle is the position and direction of your camera relative to your product, which can affect the perspective and appearance of your product photographs. The angle you choose should highlight the shape, size, and features of your product, and show it from different sides and views. For example, you can use a front angle, which is when your camera is facing your product directly, to show the front and main view of your product. You can use a side angle to show the depth and dimension of your product, or a top angle to show the surface and layout of your product. You can also use a diagonal angle to show the shape and perspective of your product.
- Distance: The distance is the space and zoom between your camera and your product, which can affect the focus and detail of your product photographs. The distance you choose should show your product clearly and sharply and fill the frame of your camera without cropping or distorting your product. For example, you can use a close-up distance to show the texture and details of your product. You can use a medium distance, which is when your camera is a few feet away from your product, to show the whole and complete view of your product. You can use a far distance to show the context and environment of your product.
- Composition: The composition is the arrangement and balance of your product and other elements in your product photographs, such as the background, props, or text, which can affect the aesthetics and appeal of your product images. The composition you choose should make your product the focal point and the most attractive element of your product photographs, and follow some basic rules and principles of design, such as the rule of thirds, the golden ratio, or the visual hierarchy.
For example, you can use the rule of thirds, which is when you divide your frame into nine equal parts using two horizontal and two vertical lines, and place your product along or near the intersections of these lines, to create a dynamic and balanced composition. You can use the golden ratio (1.618:1), which is when you divide your frame into a spiral shape using a mathematical formula, and place your product along or near the curve of the spiral, to create a harmonious and natural composition. You can use visual hierarchy, which is when you arrange your product and other elements according to their importance and relevance, and use size, colour, contrast, or alignment to emphasize or de-emphasize them, to create a clear and effective composition.
Ecommerce Website Design Best Practices
There's more to a successful ecommerce website than just a pretty face. Use these design best practices to enhance user experience and drive conversions:
- Simplicity is Key: A clean, minimalist design reduces clutter and focuses attention on the products.
- High-Resolution Photos & Videos: Good-quality images and videos help users get detailed visual information about your products and compel potential buyers.
- Easy Navigation: A logical and intuitive navigation system makes product discovery easier, thereby enhancing user experience. This includes a comprehensive search function along with granular sort and filter options.
- Prominent CTA Buttons: An unmistakable and attractive Call-to-Action (CTA) button can greatly enhance the conversion rate, particularly the Add to Cart button but also things like enquiry and live chat buttons where appropriate.
- Easy Checkout: Having a straightforward, simple, and quick checkout process limits shopping cart abandonment. Offering multiple payment options, all integrated into your checkout, will lift your conversion rate.
Adjust your camera settings
The third step to taking high quality product photographs is to adjust your camera settings according to the lighting and the effect you want to achieve. You will need to consider the aperture, shutter speed, ISO, and white balance of your camera.
Firstly, you need to choose the right shooting mode. The shooting mode is the setting that determines how much control you have over the camera settings. Depending on your camera, you may have different shooting modes to choose from, such as auto, manual, aperture priority, shutter priority, or program. The shooting mode you choose should match your skill level and your desired outcome.
- Auto mode: Auto mode is the simplest and easiest shooting mode, as it automatically adjusts all the camera settings for you, based on the lighting and the subject. Auto mode is ideal for beginners or for situations where you need to take quick and easy shots. However, auto mode may not always give you the best results, as it may not capture the details, colours, or effects that you want for your product photographs.
- Manual mode: Manual mode is the most advanced and flexible shooting mode, as it allows you to manually adjust all the camera settings, such as aperture, shutter speed, ISO, and white balance. Manual mode is ideal for experts or for situations where you want to have full control and creativity over your product shots. However, manual mode may also be the most challenging and time-consuming shooting mode, as it requires you to have a good understanding of the camera settings and how they affect your images.
- Aperture priority mode: Aperture priority mode is a semi-automatic shooting mode, as it allows you to manually adjust the aperture, while the camera automatically adjusts the shutter speed and the ISO. Aperture priority mode is ideal for situations where you want to control the depth of field, which is the area of focus and blur in your images. For example, if you want to create a shallow depth of field, where your product is in focus and the background is blurred, you can use a large aperture, such as f/2.8. If you want to create a deep depth of field, where your product and the background are both in focus, you can use a small aperture, such as f/16.
- Shutter priority mode: Shutter priority mode is another semi-automatic shooting mode, as it allows you to manually adjust the shutter speed, while the camera automatically adjusts the aperture and the ISO. Shutter priority mode is ideal for situations where you want to control the motion, which is the movement and blur in your images. For example, if you want to freeze the motion, where your product is sharp and crisp, you can use a fast shutter speed, such as 1/250. If you want to show the motion, where your product is blurred and dynamic, you can use a slow shutter speed, such as 1/15.
- Program mode: Program mode is a hybrid shooting mode, as it allows you to switch between auto and manual modes, depending on your preference and situation. Program mode is ideal for situations where you want to have some control and some convenience over your shots. For example, you can use the program mode to automatically adjust the aperture and the shutter speed, while you manually adjust the ISO and the white balance.
If you are using modes other than Auto, you may want to adjust some of the settings as follows:
- Aperture: The aperture is the opening of the lens that controls how much light enters your camera, which can affect the brightness and depth of field of your product photographs. The aperture is measured in f-stops, such as f/1.4, f/2.8, f/4, f/5.6, f/8, f/11, f/16, or f/22, and the lower the number, the larger the opening, and vice versa. The aperture you choose should match the lighting and the focus of your product photographs.For example, if you are shooting in low-light conditions, you can use a large aperture, such as f/1.4 or f/2.8, to let more light in and make your product photographs brighter. If you are shooting in bright-light conditions, you can use a small aperture, such as f/16 or f/22, to let less light in and make your product photographs darker. If you want to create a shallow depth of field, which is when your product is in focus and the background is blurred, you can use a large aperture, such as f/1.4 or f/2.8, to create a narrow area of focus. If you want to create a deep depth of field, which is when your product and the background are both in focus, you can use a small aperture, such as f/16 or f/22, to create a wide area of focus.
- Shutter speed: The shutter speed is the duration of time that the shutter of your camera stays open to expose your product to light, which can affect the brightness and motion of your product photographs. The shutter speed is measured in seconds or fractions of seconds, such as 1/15, 1/30, 1/60, 1/125, 1/250, 1/500, or 1/1000, and the higher the number, the faster the shutter, and vice versa. The shutter speed you choose should match the lighting and the motion of your product photographs.
- Brightness: The shutter speed affects the brightness of your images, as it determines how long the light reaches the sensor of your camera. The faster the shutter speed, the darker the image, and the slower the shutter speed, the brighter the image. For example, if you are shooting in low-light conditions, you can use a slow shutter speed, such as 1/15 or 1/30, to let more light in and make your images brighter. If you are shooting in bright-light conditions, you can use a fast shutter speed, such as 1/500 or 1/1000, to let less light in and make your images darker.
- Motion: The shutter speed also affects the motion of your images, as it determines how much movement is captured and blurred in your images. The faster the shutter speed, the sharper the image, and the slower the shutter speed, the blurrier the image. For example, if you want to freeze the motion, where your product is sharp and crisp, you can use a fast shutter speed, such as 1/250 or 1/500, to capture the moment without any blur. If you want to show the motion, where your product is blurred and dynamic, you can use a slow shutter speed, such as 1/15 or 1/30, to create a sense of movement and speed.
- Brightness: The shutter speed affects the brightness of your images, as it determines how long the light reaches the sensor of your camera. The faster the shutter speed, the darker the image, and the slower the shutter speed, the brighter the image. For example, if you are shooting in low-light conditions, you can use a slow shutter speed, such as 1/15 or 1/30, to let more light in and make your images brighter. If you are shooting in bright-light conditions, you can use a fast shutter speed, such as 1/500 or 1/1000, to let less light in and make your images darker.
- Adjust the ISO: The ISO is the sensitivity of the sensor of your camera to light, which affects the brightness and noise of your images. The ISO is measured in numbers, such as 100, 200, 400, 800, 1600, 3200, or 6400, and the higher the number, the higher the sensitivity, and vice versa. The ISO you choose should match the lighting and the quality of your product photographs.
- Brightness: The ISO affects the brightness of your images, as it determines how much light is amplified by the sensor of your camera. The higher the ISO, the brighter the image, and the lower the ISO, the darker the image. For example, if you are shooting in low-light conditions, you can use a high ISO, such as 1600 or 3200, to boost the light and make your images brighter. If you are shooting in bright-light conditions, you can use a low ISO, such as 100 or 200, to reduce the light and make your images darker.
- Noise: The ISO also affects the noise of your images, which is the grainy or pixelated effect that appears in your images when the light is amplified too much. The higher the ISO, the more noise, and the lower the ISO, the less noise. For example, if you use a high ISO, such as 3200 or 6400, you may end up with noisy images that look unprofessional and low-quality. If you use a low ISO, such as 100 or 200, you may end up with noise-free images that look smooth and high-quality.
- Brightness: The ISO affects the brightness of your images, as it determines how much light is amplified by the sensor of your camera. The higher the ISO, the brighter the image, and the lower the ISO, the darker the image. For example, if you are shooting in low-light conditions, you can use a high ISO, such as 1600 or 3200, to boost the light and make your images brighter. If you are shooting in bright-light conditions, you can use a low ISO, such as 100 or 200, to reduce the light and make your images darker.
Post-Production
Post-production is the process of editing and enhancing your product photographs after you have taken them. Post-production can help you improve the quality, consistency, and appeal of your product photographs, and make them ready for your ecommerce website. Remember, enhance, not alter. The image should remain as close to the real product as possible.
Here are some post-production tips for ecommerce product photography:
- Use a photo editing software, such as Adobe Photoshop, Lightroom, or GIMP, that allows you to adjust and manipulate various aspects of your product photographs, such as the brightness, contrast, colour, sharpness, noise, and perspective. You can also use this software to crop, resize, rotate, or flip your product photographs, and to add text, logos, or watermarks if needed.
- Use a consistent style and format for your product photographs, such as the resolution, aspect ratio, file type, and file name, that matches the requirements and guidelines of your ecommerce website. You can also use presets, templates, or batch processing to apply the same settings and effects to multiple product photographs at once, and to save time and effort.
- If the background of your photograph isn’t perfectly white or has something that needs removing, you can use tools such as the magic wand, the quick selection, or the pen tool to select and remove the background from your product photographs, and to replace it with a solid white or transparent background. You can also use tools such as the clone stamp, the healing brush, or the spot healing brush to remove any dust, dirt, or imperfections from your product or background.
- If you haven’t quite got the colour you wanted in your photos, you can use tools such as the white balance, the colour balance, or the hue/saturation to adjust and correct the colour temperature, tint, and saturation of your product photographs, and to make them match the actual colour of your product. You can also use tools such as the levels, the curves, or the exposure to adjust and enhance the brightness, contrast, and tonality of your product photographs, and to make them look more vivid and vibrant.
- You can use tools such as sharpen, the unsharp mask, or smart sharpen to sharpen and enhance the edges, details and textures of your product photographs, and to make them look more crisp and clear. You can also use tools such as blur, the gaussian blur, or the lens blur to blur and soften the background or the edges of your product photographs, and to create a shallow depth of field effect.
Following the advice above should leave you with accurate, clear product shots that conform to the requirements of ecommerce platforms and give customers all the detail they need to make a purchasing decision.

Ecommerce Sites From Wired In